Introduction
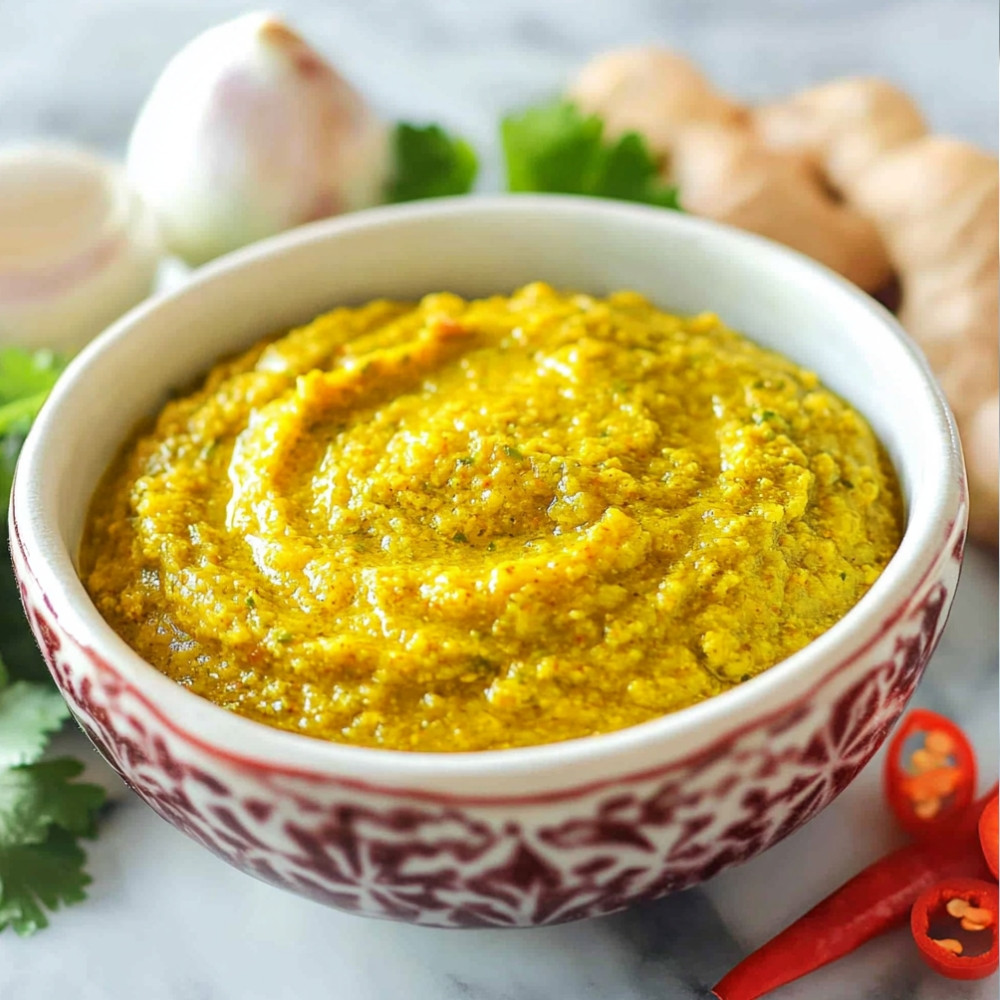
Yellow curry paste is a vibrant and flavorful base used in many Thai dishes, providing a rich blend of spices and fresh ingredients. This paste is versatile, allowing you to create delicious curries, soups, and stir-fries with a wonderful depth of flavor. Making your own yellow curry paste at home ensures that you control the freshness and quality of the ingredients, enhancing your culinary creations.
Detailed Ingredients with measures
Shallots – 3 medium-sized, peeled and chopped
Garlic – 5 cloves, peeled
Ginger – 1-inch piece, peeled and chopped
Lemongrass – 2 stalks, tough outer layers removed and chopped
Turmeric – 1 tablespoon, ground
Coriander – 1 tablespoon, ground
Cumin – 1 teaspoon, ground
Kaffir lime leaves – 3 leaves, finely shredded
Chili peppers – 2, deseeded and chopped (adjust to taste)
Salt – 1 teaspoon
Vegetable oil – 2 tablespoons (for blending)
Prep Time
The preparation time for making yellow curry paste is approximately 15 minutes. This includes gathering all the ingredients, chopping, and blending them into a smooth paste.
Cook Time, Total Time, Yield
The cook time for yellow curry paste is minimal since the primary activity involves blending the ingredients. The total time required is about 15 minutes. This recipe yields enough paste for several servings, typically enough to create two to three main dishes, depending on personal taste and the specific recipe used.
Detailed Directions and Instructions
Step 1: Prepare the Ingredients
Gather all the necessary ingredients: fresh turmeric, garlic, shallots, lemongrass, galangal, dried chilies, coriander seeds, cumin seeds, and shrimp paste. Make sure they are cleaned, peeled, and chopped where applicable for easier blending.
Step 2: Toast the Whole Spices
In a small, dry skillet over medium heat, toast the coriander and cumin seeds. Stir them frequently until fragrant, which should take about 3 to 5 minutes. Be careful not to burn them.
Step 3: Soak the Dried Chilies
While the spices are toasting, place the dried chilies in a bowl and cover them with hot water. Let them soak for about 15 minutes to soften.
Step 4: Blend the Ingredients
In a food processor or blender, combine the toasted spices, soaked chilies (drained), fresh turmeric, garlic, shallots, lemongrass, galangal, and shrimp paste. Blend until you achieve a smooth paste, adding a little water if needed to help with the blending process.
Step 5: Test the Flavor
Taste the curry paste and adjust the seasonings if necessary. You can add more shrimp paste or adjust the spice level by including additional chilies according to your preference.
Step 6: Store the Curry Paste
Transfer the yellow curry paste to an airtight container. It can be stored in the refrigerator for up to two weeks or frozen for longer storage.
Notes
Note 1: Fresh Ingredients
Using fresh turmeric and galangal will give the curry paste a vibrant flavor. If these ingredients are unavailable, you can substitute with dried versions, but the taste may vary.
Note 2: Spice Level
Adjust the number of dried chilies based on your desired level of heat. For a milder paste, use fewer chilies, and for spicier, use more.
Note 3: Using Curry Paste
This yellow curry paste can be used in a variety of dishes, from curries to soups and stews. Experiment with it to find the best uses that suit your taste.
Note 4: Vegetarian Option
For a vegetarian version, omit the shrimp paste and consider using a plant-based alternative or additional spices to enhance the umami flavor.
Cook techniques
Preparing Fresh Ingredients
Using fresh ingredients is vital for the best flavor in your yellow curry paste. Fresh herbs, spices, and vegetables enhance the overall taste and aroma.
Pounding vs. Blending
You can either pound the ingredients using a mortar and pestle for a more traditional approach or blend them in a food processor for convenience. Each method offers a different texture and flavor profile.
Adjusting Spice Levels
Customize the heat of your curry paste by varying the number of chilies used. Taste as you go to achieve the desired spice level.
Storing the Paste
Store your yellow curry paste in an airtight container in the refrigerator for up to a week or freeze it in small portions for longer shelf life.
FAQ
Can I use dried spices instead of fresh?
While you can use dried spices, fresh ingredients are recommended for optimal flavor and aroma.
How long does homemade yellow curry paste last?
Homemade yellow curry paste can last in the refrigerator for about a week or can be frozen for several months.
What dishes can I use yellow curry paste in?
Yellow curry paste can be used in various dishes, including curries, soups, and marinades.
Is yellow curry paste gluten-free?
Yes, yellow curry paste can be made gluten-free, but always check the labels of any added ingredients to ensure they meet gluten-free standards.
Conclusion
Making your own yellow curry paste allows for a fresh and vibrant flavor that can elevate any dish. With a combination of spices, herbs, and aromatics, you can adjust the intensity and authenticity to your personal taste. Enjoy the satisfaction of crafting a staple that stands as the foundation for various delicious meals.
More recipes suggestions and combination
Yellow Curry with Vegetables
Combine the yellow curry paste with a variety of vegetables like bell peppers, carrots, and zucchini for a colorful and nutritious dish.
Chicken Yellow Curry
Use the yellow curry paste to create a rich and creamy chicken curry, adding coconut milk and a sprinkle of lime for brightness.
Seafood Yellow Curry
Blend the curry paste with shrimp or fish for a seafood twist, enhancing the flavors with fresh herbs like cilantro.
Tofu Yellow Curry
For a vegetarian option, pair the yellow curry paste with tofu and a mix of your favorite vegetables, creating a hearty meal.
Yellow Curry Soup
Transform the yellow curry paste into a soup by adding broth, coconut milk, and a selection of veggies for a comforting bowl of warmth.
Curry Rice Bowl
Serve the yellow curry paste over steamed rice, topped with your choice of protein and garnished with green onions and cilantro for a complete meal.


