Introduction
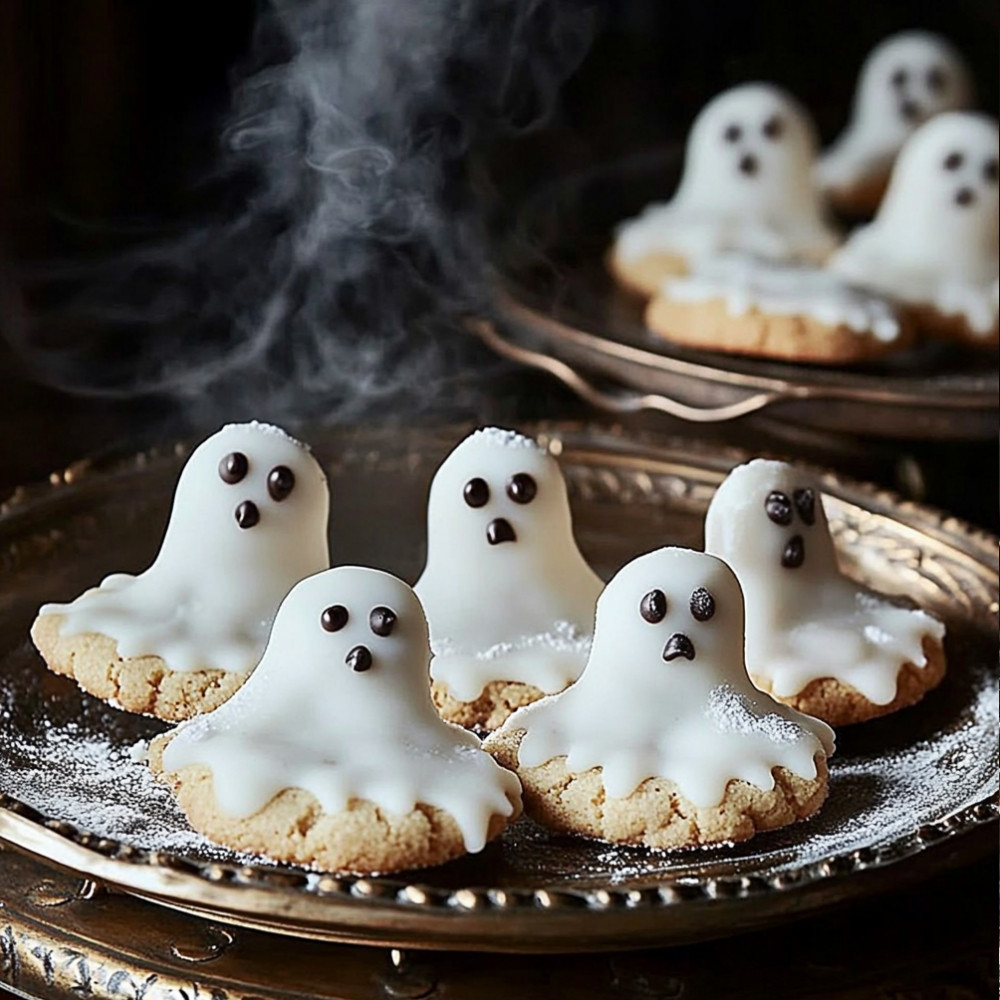
Ghost cookies are a delightful treat that not only captures the essence of Halloween but also offers a fun and creative cooking experience. These soft sugar cookies, adorned with ghostly frosting, are perfect for any spooky gathering or festive celebration. This article provides a comprehensive guide to crafting these delicious cookies, detailing the ingredients, preparation, and cooking times necessary to achieve the perfect ghostly look.
Detailed Ingredients with measures
All-purpose flour: 2 1/2 cups
Baking powder: 1 tsp
Salt: 1/2 tsp
Unsalted butter: 1 cup, softened
Granulated sugar: 1 1/2 cups
Eggs: 2 large
Vanilla extract: 1 tsp
Powdered sugar: 2 cups (for frosting)
Milk: 2-3 tbsp (for frosting)
Black food coloring: a few drops (for decorating)
Prep Time
The preparation time for ghost cookies is approximately 30 minutes. This includes the time taken to gather ingredients, mix the dough, and chill it before baking.
Cook Time, Total Time, Yield
The cook time for the ghost cookies is around 10-12 minutes per batch. In total, including prep and cook times, you can expect the entire process to take about 1 hour. This recipe yields about 24 cookies, depending on the size you choose to make them.
Detailed Directions and Instructions
Step 1: Prepare the Dough
In a large mixing bowl, cream together butter, sugar, and vanilla extract until the mixture is light and fluffy. Gradually add the flour, baking powder, and salt until combined. Make sure the dough is well mixed without being overworked.
Step 2: Shape the Cookies
Divide the dough into two portions. Roll each portion into a log shape, about 1.5 inches in diameter. Wrap the logs in plastic wrap and refrigerate for at least 1 hour or until firm.
Step 3: Preheat the Oven
Preheat your oven to 350°F (175°C) while the dough is chilling.
Step 4: Slice the Cookies
Once the dough is chilled, remove it from the refrigerator and unwrap. Using a sharp knife, slice the logs into rounds about ¼ inch thick. Place the slices on a baking sheet lined with parchment paper.
Step 5: Bake the Cookies
Bake the cookies in the preheated oven for 8-10 minutes or until the edges are just starting to turn a light golden. Be careful not to overbake them.
Step 6: Cool the Cookies
Remove the cookies from the oven and let them cool on the baking sheet for 5 minutes. Then, transfer them to a wire rack to cool completely.
Step 7: Decorate with Icing
While the cookies are cooling, prepare your desired icing. Once the cookies are cool, use the icing to decorate each cookie as desired, using colors and designs to create a ghostly effect.
Notes
Tip 1: Storage
Store the cookies in an airtight container at room temperature for up to a week, or freeze for longer preservation.
Tip 2: Customize Flavors
Feel free to experiment with different extracts and add-ins, such as almond extract, or chocolate chips, to give your cookies a unique twist.
Tip 3: Icing Options
Royal icing works well for decorating as it dries hard, making it easier to stack the cookies. Consider using edible eyes or sprinkles for added decoration.
Tip 4: Variations
These cookies can be shaped into various themes for different holidays. Use cookie cutters to create spooky shapes or other festive designs.
Cook techniques
Chilling the Dough
Chilling the dough before baking is crucial for achieving the perfect cookie texture. It helps solidify the fats, preventing the cookies from spreading too much during baking.
Using Parchment Paper
Line your baking sheets with parchment paper to prevent cookies from sticking and ensure even baking. This also makes cleanup much easier.
Baking in Batches
Baking cookies in batches allows for better temperature control in the oven. It ensures that each batch bakes evenly and prevents overcrowding that can lead to uneven cooking.
Checking for Doneness
Cookies should be removed from the oven when they are still slightly underbaked in the centers. They will continue to cook on the baking sheet, creating a chewy texture.
Storing Cookies
Store cookies in an airtight container at room temperature to maintain their freshness. For longer preservation, consider freezing them.
FAQ
Can I use a different type of flour?
Yes, you can use different types of flour, but it may affect the texture and flavor of the cookies. Experimenting with different flours can yield unique results.
How can I make my cookies softer?
To achieve softer cookies, try using more brown sugar and less granulated sugar. Additionally, underbaking them slightly can help maintain a soft texture.
Can I freeze cookie dough?
Absolutely! Cookie dough can be frozen for later use. Just scoop the dough onto a baking sheet, freeze them until solid, then transfer to an airtight container.
How do I fix cookies that are too dry?
If your cookies turn out dry, next time you bake, consider adding an extra egg yolk or increasing the fat content. You can also try reducing the baking time.
What can I substitute for eggs?
For an egg substitute in cookies, consider using applesauce, mashed bananas, or a flaxseed meal mixed with water. Each substitute can provide moisture and binding properties.
Conclusion
The Ghost Cookies are a delightful treat that perfectly capture the spirit of Halloween. With their whimsical design and delicious flavor, these cookies not only make for a fun baking activity but also serve as a festive addition to any celebration. Enjoying them fresh out of the oven or sharing them with friends and family can bring joy and create lasting memories.
More recipes suggestions and combination
Spooky Spider Cookies
Add some edible eyes and chocolate legs to your cookies to create creepy crawly spider treats that will thrill and delight.
Pumpkin Spice Cookies
Blend pumpkin spice into the dough to infuse your cookies with festive fall flavors, perfect for Halloween gatherings.
Chocolate Drizzle Ghost Cookies
Elevate your ghost cookies by drizzling melted chocolate over them for an extra layer of sweetness and a more decadent appearance.
Monster Eye Cookies
Use colorful icing and candy eyes to turn your cookies into friendly monsters that are sure to be a hit with kids.
Ghostly Meringue Cookies
Make lighter-than-air meringue cookies shaped like ghosts for a different texture and a fun contrast to traditional ghost cookies.


