Introduction
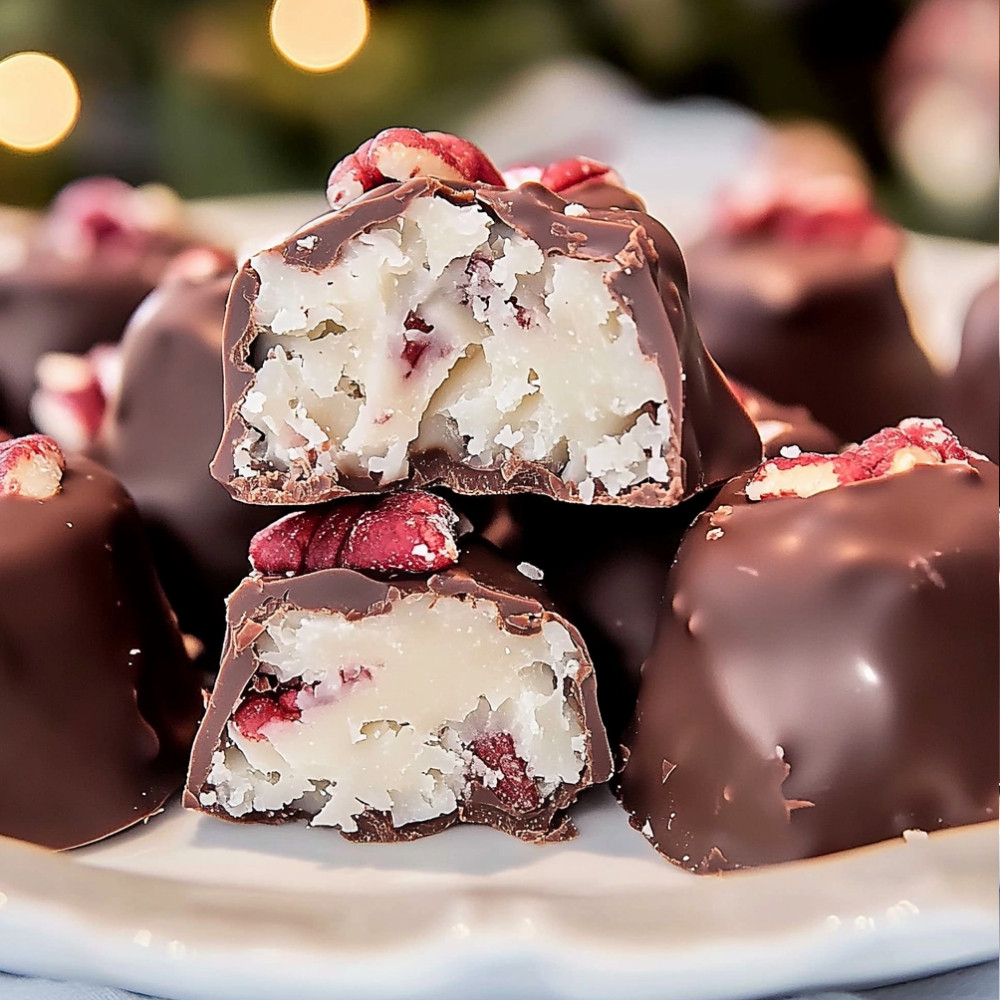
Martha Washington’s candy is a delightful treat that has stood the test of time, combining rich flavors and a simple preparation method. This no-bake recipe is perfect for holiday gatherings, parties, or just satisfying your sweet tooth. With a creamy center and a chocolate coating, these candies truly are irresistible.
Detailed Ingredients with measures
Powdered sugar – 1 pound
Creamy peanut butter – 1 cup
Butter, softened – 1/2 cup
Chopped nuts (walnuts or pecans) – 1 cup
Coconut, shredded – 1 cup
Dipping chocolate or chocolate chips – 12 ounces
Prep Time
30 minutes
Cook Time, Total Time, Yield
Cook Time: 0 minutes
Total Time: 30 minutes
Yield: About 50 pieces
Detailed Directions and Instructions
Step 1: Prepare the Cocoa and Sugar Mixture
In a medium saucepan, combine equal parts of cocoa powder and sugar. Mix thoroughly to ensure there are no clumps.
Step 2: Incorporate Milk and Butter
Gradually add milk to the cocoa and sugar mixture, stirring continuously until well blended. Add a small amount of unsalted butter to the mixture for added richness.
Step 3: Heat the Mixture
Place the saucepan over medium heat. Continuously stir the mixture as it heats up to prevent burning. Bring it to a gentle boil and cook for about 5 minutes.
Step 4: Add Vanilla and Chopped Nuts
Remove the saucepan from heat. Stir in vanilla extract for flavor and fold in your choice of chopped nuts, such as pecans or walnuts.
Step 5: Shape the Mixture
Once the mixture has cooled slightly but is still pliable, use your hands to form small balls or squares, depending on your preference.
Step 6: Chill the Candies
Place the shaped candies on a parchment-lined baking sheet. Refrigerate for at least one hour, allowing them to firm up.
Step 7: Prepare the Chocolate Coating
Melt chocolate in a microwave-safe bowl or using a double boiler until smooth. Ensure that the chocolate is tempered for a glossy finish.
Step 8: Coat the Candies
Using a fork or dipping tool, carefully coat each chilled candy in the melted chocolate, allowing excess chocolate to drip off before placing them back on the baking sheet.
Step 9: Let the Candies Set
Allow the coated candies to set at room temperature or place them back in the refrigerator to speed up the setting process.
Notes
Tip for Variations
Feel free to experiment with different types of chocolate for coating, such as dark, milk, or white chocolate, based on your preference.
Storage Information
Store the finished candies in an airtight container at room temperature or in the refrigerator to maintain freshness for several days.
Serving Suggestions
These candies make excellent treats for parties, gifts, or a personal indulgence. Enjoy them alongside coffee or tea for a delightful pairing.
Cook techniques
Melting Chocolate
Melting chocolate requires gentle heat to prevent burning. Use a double boiler or microwave at low power, stirring frequently.
Mixing Ingredients
For an even consistency, mix ingredients thoroughly. Use a wooden spoon or electric mixer until the mixture is smooth and well combined.
Chilling the Mixture
Allow the candy mixture to chill in the refrigerator for a firmer texture. This step is crucial for shaping and cutting.
Shaping the Candy
When shaping the candy, use your hands to roll them into uniform balls. Keep your hands slightly damp to prevent sticking.
Dipping in Chocolate
For a glossy coating, dip the shaped candy into melted chocolate and let the excess drip off before placing them on parchment paper to set.
FAQ
Can I use different types of chocolate for melting?
Yes, you can use dark, milk, or white chocolate based on your preference. Each type will yield a different flavor.
How do I prevent the chocolate from seizing?
Ensure that no moisture comes into contact with the chocolate while melting, as even a small amount of water can cause it to seize.
What can I use instead of a double boiler?
You can use a microwave-safe bowl to melt chocolate in short bursts, stirring in between, or a heatproof bowl placed over a pot of simmering water.
How long should I chill the candy mixture?
Chill the mixture for at least 30 minutes or until it is firm enough to handle.
Can I add nuts or other ingredients to the candy?
Absolutely! Feel free to customize your candy by adding chopped nuts, dried fruits, or flavored extracts.
Conclusion
The Martha Washington Candy is not only a delicious treat but also a delightful way to bring a touch of history into your kitchen. This sweet confection, with its rich layers of flavors, creates a memorable experience for gatherings or as a thoughtful gift. Whether you follow the traditional recipe or add your own flair, this candy is sure to impress.
More recipes suggestions and combination
Chocolate-Covered Almonds
A simple yet elegant treat that complements the flavors of the Martha Washington Candy. Just dip roasted almonds in melted chocolate for a crunchy and indulgent snack.
Coconut Macaroons
These chewy coconut bites bring a tropical twist and pair wonderfully with the creamy textures of the Martha Washington Candy.
Peanut Butter Balls
Rich and nutty, these treats can be made by mixing peanut butter with powdered sugar and coating them in chocolate, creating a delicious contrast to the Martha Washington Candy.
Fruit and Nut Truffles
Blend dried fruits and nuts to create wholesome truffles that provide a fruity alternative next to the sweet richness of the Martha Washington Candy.
Caramel Pecan Clusters
These sticky and crunchy clusters can add a delightful texture and flavor contrast when enjoyed alongside the smooth chocolate layers of the Martha Washington Candy.


