Introduction
Cauliflower pizza crust is an innovative and healthy alternative to traditional pizza dough. This recipe shows you how to create a delicious and gluten-free cauliflower crust that is both crispy and flavorful. Perfect for those looking to reduce carbs or simply add more vegetables to their diet, this pizza crust will satisfy your cravings without guilt.
Detailed Ingredients with measures
Cauliflower – 1 medium head
Mozzarella cheese – 1 cup, shredded
Parmesan cheese – 1/4 cup, grated
Egg – 1 large
Garlic powder – 1 teaspoon
Italian seasoning – 1 teaspoon
Salt – 1/2 teaspoon
Black pepper – 1/4 teaspoon
Prep Time
20 minutes
Cook Time, Total Time, Yield
Cook Time: 25 minutes
Total Time: 45 minutes
Yield: 1 large pizza crust
This delicious cauliflower pizza crust is easy to make and can be topped with your favorite ingredients, making it a versatile option for any pizza lover. Enjoy a healthier twist on a classic dish!
Detailed Directions and Instructions
Step 1: Preheat the Oven
Preheat your oven to 425°F (220°C). Line a baking sheet with parchment paper.
Step 2: Prepare the Cauliflower
Remove the leaves and stems from the cauliflower. Cut it into small florets.
Step 3: Rice the Cauliflower
Place the cauliflower florets in a food processor. Pulse until the cauliflower resembles rice or small crumbs.
Step 4: Cooking the Cauliflower Rice
Transfer the riced cauliflower to a microwave-safe bowl. Cover the bowl and microwave on high for about 4-5 minutes. Allow it to cool slightly.
Step 5: Squeeze out Excess Water
After the cauliflower has cooled, place it in a clean kitchen towel. Squeeze the towel to remove as much moisture as possible.
Step 6: Mix the Ingredients
In a large bowl, combine the riced cauliflower, eggs, cheese, and seasonings. Mix until well combined.
Step 7: Form the Pizza Crust
Transfer the cauliflower mixture onto the prepared baking sheet. Use your hands to shape it into a thin, round crust, about ¼ inch thick.
Step 8: Bake the Crust
Bake the crust in the preheated oven for 25-30 minutes, or until it is golden brown and firm.
Step 9: Add Toppings
Remove the crust from the oven and add your desired pizza toppings.
Step 10: Final Baking
Return the pizza to the oven and bake it for an additional 10-15 minutes, or until the cheese is bubbly and melted.
Notes
Note 1: Cauliflower Preparation
Make sure to remove as much moisture as possible from the cauliflower to ensure a crispy crust.
Note 2: Cheeses
Using a combination of cheeses can enhance flavor and help with binding.
Note 3: Toppings
Feel free to get creative with sauces and toppings, but avoid adding too much moisture to prevent sogginess.
Note 4: Storage
The baked pizza crust can be stored in the refrigerator for a few days or frozen for longer storage.
Note 5: Reheating
To reheat, place the pizza in a hot oven to maintain the crispiness of the crust.
Cook techniques
Prepping the Cauliflower
Before making the crust, ensure that the cauliflower is finely grated or processed into rice-sized pieces. This helps to achieve the right texture.
Removing Excess Moisture
After cooking the cauliflower, it’s crucial to squeeze out as much moisture as possible. Use a clean kitchen towel to wring out the cooked cauliflower thoroughly.
Binding Ingredients
Incorporate cheese and eggs as binding agents in your mixture. This combination helps to hold the crust together and gives it a nice flavor.
Shaping the Crust
When forming the crust, spread the mixture evenly on a parchment-lined baking sheet. Aim for a consistent thickness to ensure even cooking.
Baking Techniques
Pre-bake the crust at a high temperature to achieve a crispy texture. Ensure it’s cooked until golden brown before adding toppings.
FAQ
Can I use frozen cauliflower for the crust?
Yes, frozen cauliflower can be used, but be sure to thaw and drain it thoroughly to remove excess moisture before proceeding.
How do I store leftover cauliflower pizza crust?
You can store leftovers in an airtight container in the refrigerator for up to three days. Reheat in the oven for best results.
What toppings work best on cauliflower pizza?
Most traditional pizza toppings can be used. Popular choices include tomato sauce, mozzarella, vegetables, and various meats.
Is cauliflower pizza crust gluten-free?
Yes, cauliflower pizza crust is gluten-free, making it a great alternative for those with gluten sensitivities.
Can I freeze cauliflower pizza crust?
Absolutely! You can freeze the crust after pre-baking it. Just wrap it tightly in plastic wrap and foil before storing.
Conclusion
The cauliflower pizza crust is a delicious and healthy alternative to traditional pizza dough. It provides a satisfying base for your favorite toppings while being lower in carbs and gluten-free. With its crispy texture and versatile flavor, this crust makes it easy to enjoy pizza without the guilt.
More recipes suggestions and combination
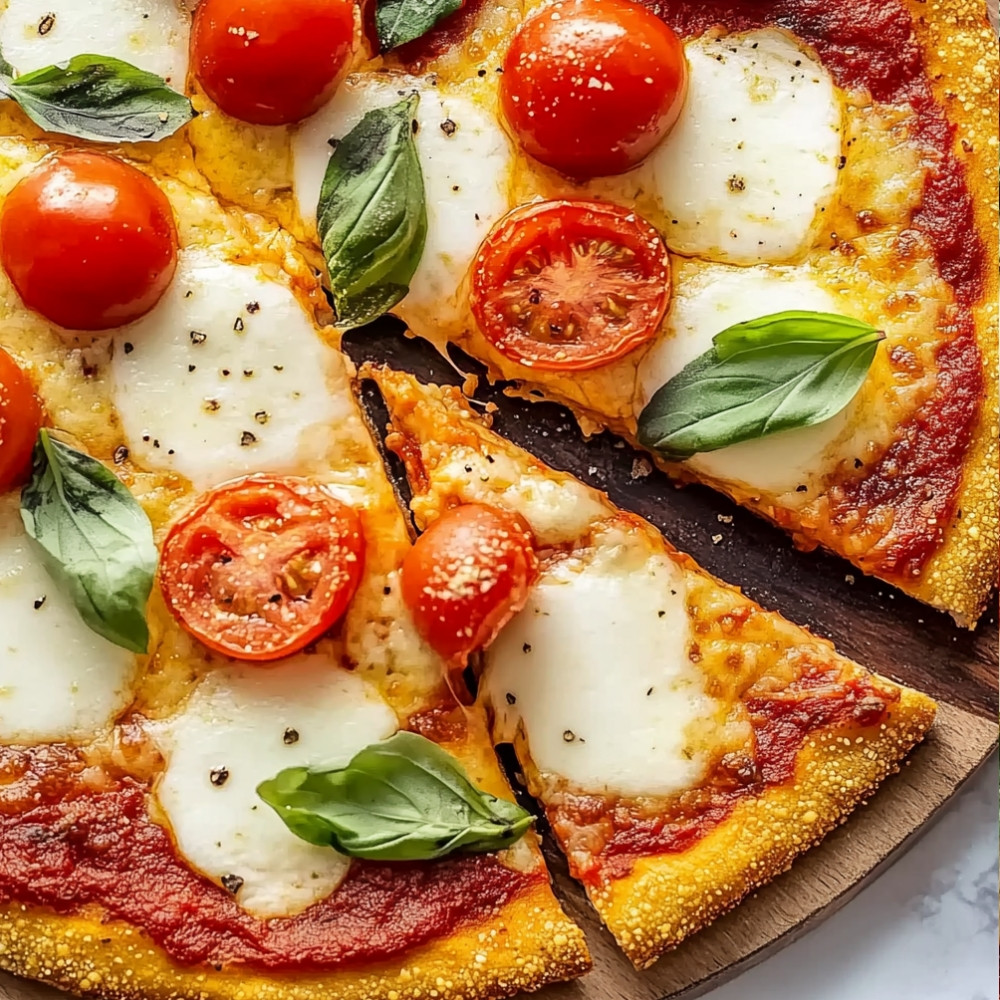
Margherita Cauliflower Pizza
Top your cauliflower crust with fresh tomatoes, mozzarella cheese, basil leaves, and a drizzle of olive oil for a classic Margherita pizza experience.
BBQ Chicken Cauliflower Pizza
Spread barbecue sauce over the crust, add shredded chicken, red onions, and cilantro for a smoky and savory twist.
Pesto Veggie Cauliflower Pizza
Use pesto as a base, then layer with roasted vegetables like bell peppers, zucchini, and artichokes for a fresh and flavorful option.
Buffalo Cauliflower Pizza
Toss cauliflower florets in buffalo sauce, then place on the crust with blue cheese and celery for a spicy kick.
Caprese Cauliflower Pizza
Add layers of fresh mozzarella, tomatoes, and basil, then finish with a balsamic glaze for an elegant touch.
Mexican Cauliflower Pizza
Top your crust with refried beans, jalapeños, cheddar cheese, and avocado for a zesty, Mexican-inspired flavor.
Breakfast Cauliflower Pizza
Spread cream cheese on the crust and top with eggs, spinach, and feta for a delightful breakfast option.


